When learning how to plant perennials, it’s important to remember that establishing the plant in the ground in its first year is most critical to its long-term growth and development.
Once the roots take root in the soil and adapt to the surrounding environment, perennial plants have the ability to resist abuse and neglect in the garden.
Initially, however, they require a bit more maintenance and care in order to survive.
The soil must be properly prepared to minimize transplant shock. The roots should be loosened to encourage spreading outwards into the soil and water must be provided in the correct amounts.
The critical period for perennials, shrubs and trees is immediately after planting.
Soil preparation is an important part of helping your plant get the best start in your yard.
Step #1 Select the appropriate location.
What are the lighting requirements for the plants you have chosen? If they require full sun, you will need to ensure that the location that you’ve chosen will receive at least 6 hours of direct sunlight per day.
 Without the required amount of sun, your plants will not perform at their best, and may have difficulty flowering or producing healthy foliage.
The same is true for plants that require shady locations, such as hosta. Plant these plants in full sun, and the foliage color will drain and the leaves may become scorched from the sunlight.
The worst case scenario is that a plant that is incorrectly placed will die. Obviously, selecting the appropriate location is critical to your plant’s long term health.
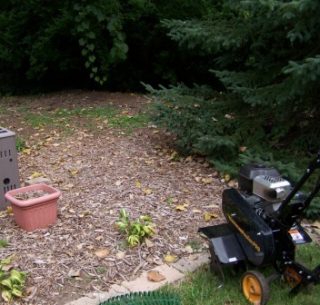
Step #2 Clear the area.
Remove any old mulch, weeds, debris, stones, etc. from the area you wish to plant. Rake it clean so that you are only dealing with the soil underneath. Weeds should be disturbed as little as possible when being removed, as they can scatter seeds which will germinate more weeds for you in the future.
Using a pre-emergent herbicide after planting may reduce the problems with weeds, as will placing down a healthy layer of mulch.
Step #3 Dampen the soil
Tilling soil that is bone dry can be difficult. The area being tilled in this picture received rain a few days prior, so no extra steps to dampen the soil needed to be taken. You want the soil “damp” as opposed to “moist” Ideally, it should have the moisture content of a new package of potting soil.
Step #4 Till the soil
The soil you are preparing should be loose and easy to work with. This will help the young root system embed deeply in its new home.
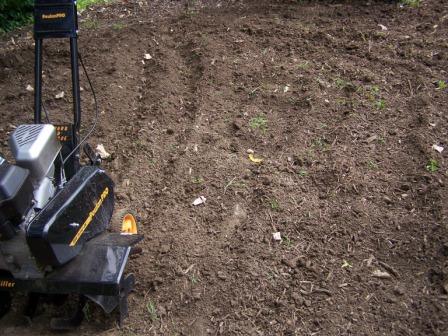
Air and rich organic nutrients should be turned into the soil at a depth of several inches. Any debris that has been brought to the surface of the soil, such as roots and stones, should be removed.
Step #5 Add compost material.
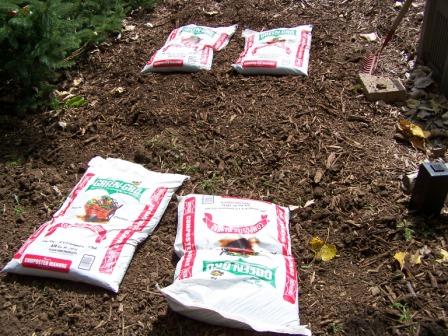 Composted manure (make sure that it’s “composted”) is a good organic ingredient to add to soil before planting perennials. If you regularly collect compost material in your yard, it is beneficial to add that as well.
Compost can be purchased from your local garden center. Adding these organic components to the soil will help build up the nutrient matter and feed your newly planted perennials.
Once all ingredients have been worked into the ground, rake the soil smooth.
Step #6 Dig holes to specified depths and widths.
Larger plants purchased through a garden catalog or from your local garden centers will specify planting instructions, which include how deep and how wide to make the hole before placing the plant in the ground. These instructions are particularly important when planting trees and bushes.
Smaller plants will have a “tag” that identifies the amount of sun this plant requires, its height, and the mature width of the plant.
This tag is from an annual plant, but gives you a good idea of the type of information you’ll find on any tag. Be sure to plant lower growing plants in the front of the garden, with taller varieties in the back. Regardless of what it looks like when you purchase it, the description tells you exactly how high and wide it will get.
Be sure to provide as much spacing between plants as is recommended on the tag. Perennials that are planted too close together will eventually get crowded once they are mature. Crowded plants are the perfect breeding ground for disease.
If you are ordering your plants online, keep in mind that your plants may appear to be “dead” when they arrive. These plants are actually dormant and their roots are well-established. They only need to be placed in the ground and tended to in order to come alive!
I know many people who have great success with ordering plants online, and I personally have had good luck with bulbs, perennials, trees and shrubs through garden catalogs and online companies. Two such recommended companies are Jung Seed and Stark Brothers.
While the plants may look pathetic when you receive them (they’ll often come as bare roots) they will often grow faster and healthier than those purchased at garden centers.
Remember, the larger the plant is at planting time, the more “transplant shock” must be endured.
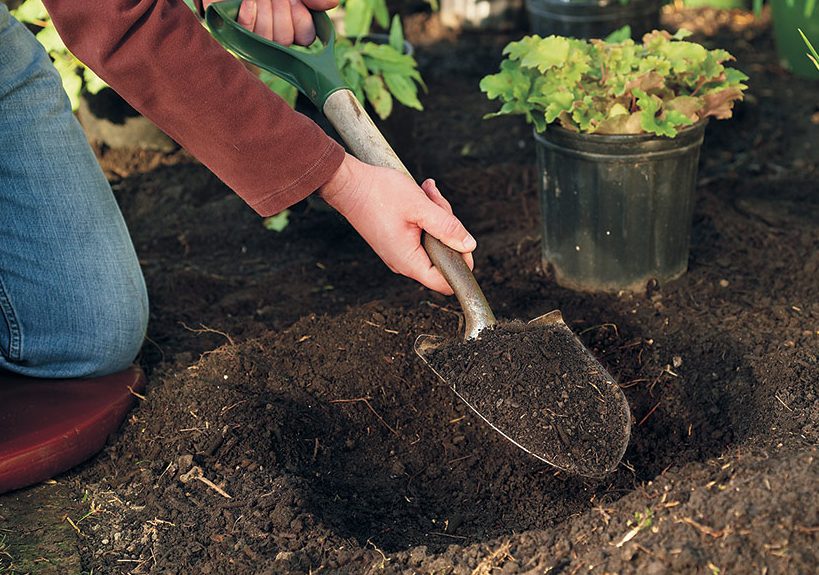
Step #7 Loosen the root system and water the hole.
Once the plants are removed from their pots, the root system should be loosened or partially cut through, depending on how “root bound” it is.
You can try loosening it with your fingers, however if that does not work. Take a knife or cutting shears and cut the roots about 2/3 of the way up the root ball on at least 2, and up to all 4 sides, loosening the root system before placing it in the ground. Refer to the discussion on How to Plant Flowers for pictures of plants that are root bound.
Also, be sure to fill the hole with water before placing the plant inside. Then, water again with the hole halfway filled up with soil, and again once it is completely filled up with soil. Be sure to somewhat firmly pack the soil around the root of the plant.
Step #8 Mulch the area.
Prior to laying down mulch, place several layers of newspaper over the soil. This will help prevent weed growth, and the newspapers will naturally decompose, adding to the organic material in the ground.
If you prefer, you can lay down landscaping fabric, however this material can be problematic in the future when you have a desire to remove it, as it will not decompose over time.
Place several inches of mulch around the plant, being careful to prevent the mulch from coming in direct contact with the trunk of the tree or base of the shrub or plant. Mulch that restricts the airflow around the base of a young plant could lead to mold and rot.
Be sure to provide ongoing water to your new garden additions. A couple of times a week is generally sufficient, with slow tapering off of your watering schedule over the first 6 weeks.
After the first couple of weeks, allow the plant to dry off between waterings. This will encourage the roots to dig deeper into the soil to find water, and will serve to develop a healthy root system.
Be careful not to over water! Young plants can die from over watering just as easily as under watering.
I am VERY careful with newly developed plants for the first month, and cautious with them throughout the remainder of their first season. Once they’ve made it through the first year, perennials are not quite as fragile and can handle receiving less attention.